

BEFORE YOU START
■ ParquetFIX 3-strip/plank is only suitable for dry indoor applications. At installation and maintenance show consideration for this. Before installation ParquetFIX 3-strip/plank must be stored unopened on the spot at climate conditions for at least 48 hours. The parquet must get acclimatized properly.
■ Install the floor at a room temperature of at least 16° C (60° F) and a relative humidity of 40 – 60%.
■ Check ParquetFIX 3-strip/plank for possible defects prior the installation. Complaints about visible defects can only be accepted before installation.
■ Wood is a natural product. Differences in colour and structure are natural and typical. Prior to actual installation, dry-lay the floor, blending the planks from several cartons to determine optimum appearance (permanently open 3-4 pak. for the present).
THE SUBFLOOR
■ The subfloor must be constructed properly – clean, crackless, solid, flat and dry.
■ ParquetFIX 3-strip/plank can be installed on existing firm floors (Linoleum, PVC,…), but all soft textile floors must be removed.
■ Allowed subfloor moisture content according to CM-method:Concrete slabs: < 2,0 % CM (radiant heated < 1,8 % CM)Anhydrite slabs: < 0,3 % CM (radiant heated < 0,3 % CM)
■ Do not install in rooms, where the flooring is exposed to excessive periods a high humidity or moisture, likebathrooms or shower.
■ Unevenness in the subfloor may not exceed 3 mm (1/9”) at a measure-distance of 1 m (3 ¼’) – acc. to DIN 18202 T3 Z4 – high requirements.
■ Always use a polyethylene foil (0,2mm/6mil) as an underlay. This foil is not only the protection for moisture but also it makes a slide layer. This slide layer is necessary for the free floating of the flooring. Overlapping the edges at least 20 cm (8”) or at closed edges seal them with an adhesive tape. Extend the foil approx. 3 cm (1“) up the wall.
■ To improve the sound insulation and to even out small irregularities use a cork roll or special cardboards as an underlayment. Underlayments which are too soft, are not suitable.
MEASUREMENTS
- Agree the installation direction with the customer because the optical effect will be influenced about this. Well tried are following variations:
– in lenghtdirection of the room or in lenght of the main light source
– laying over an old wood floor first make it even, then install in cross direction
- Pre-plan the floor by measuring the room first. If the width of the last row is less than 5 cm (2”) saw the first and the last plank in equal width.
- In rooms longer than 10 m (32 ft) – or wider than 8 m (26 ft) – expansion joint must be kept. Expansion joint from the building site must be taken on. Otherwise place expansion joint in room-narrowings or in the doorpassage. Cover the expansion joint with suitable coverings from the accessories.
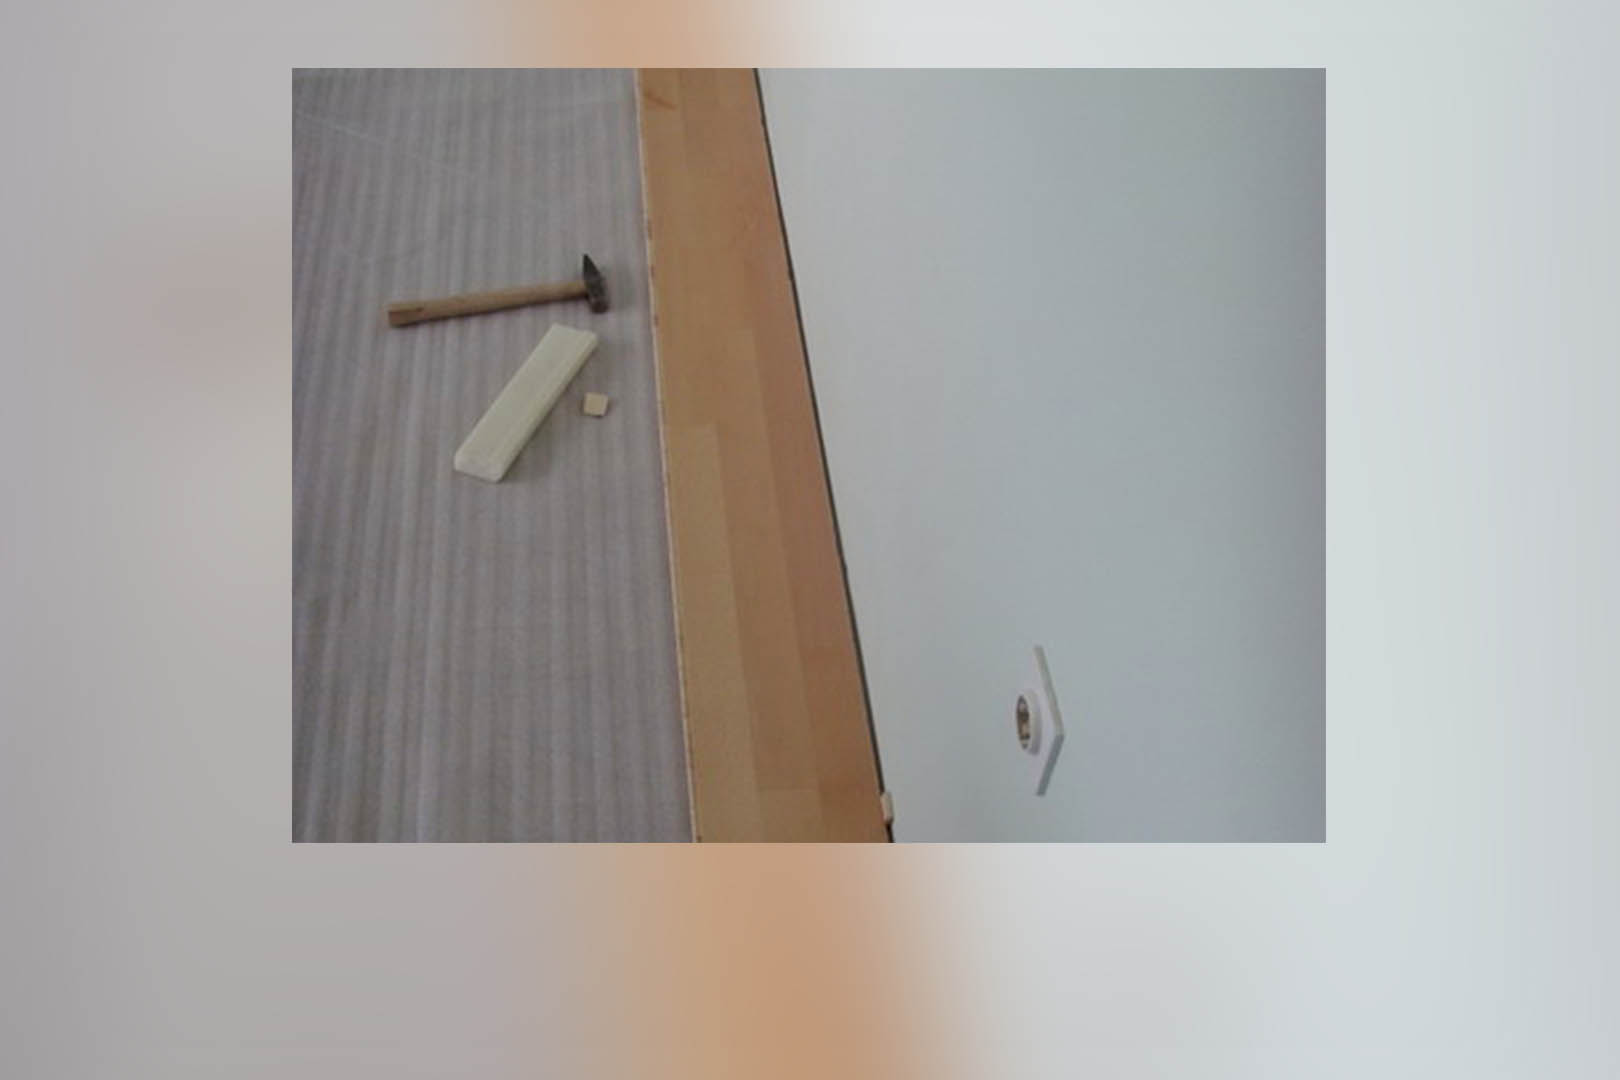
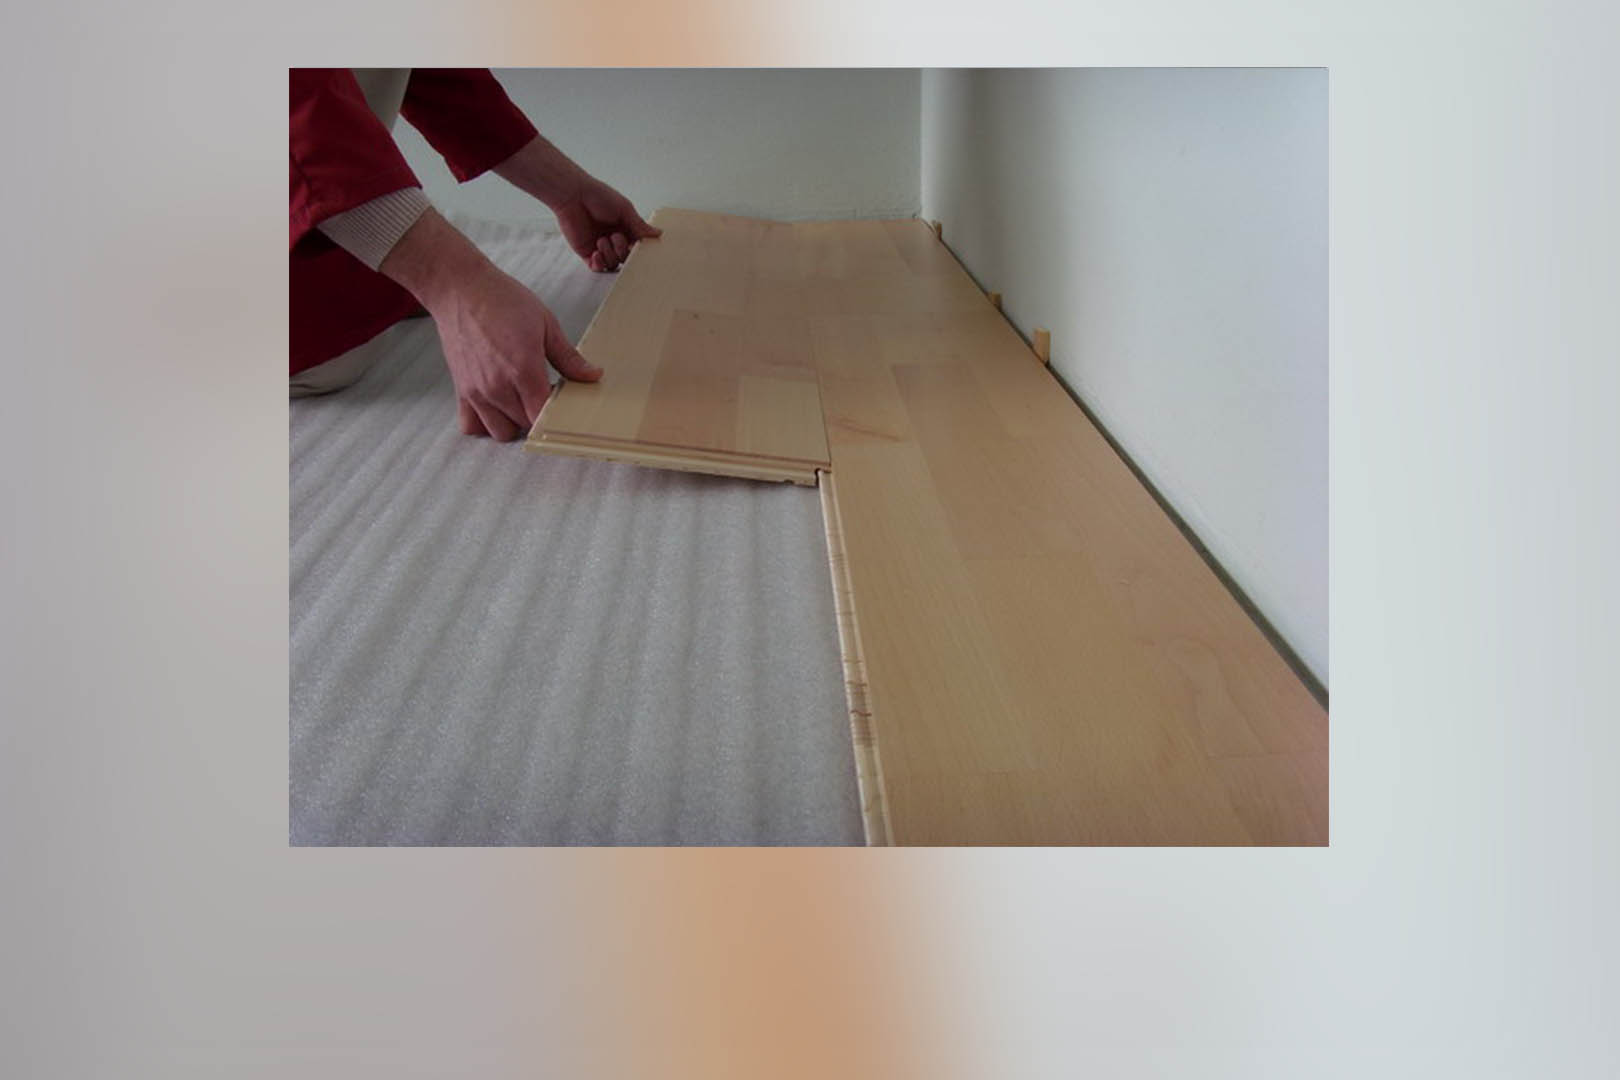
Start with the first plank in the left corner of the room, tongue-side facing the wall. Work from left to right. Use wedges on the long side and the front side of the plank to ensure the proper space to the wall – approx. 1 cm (1/2”).
The second plank is simply installed from above in an exact continuation of the first.
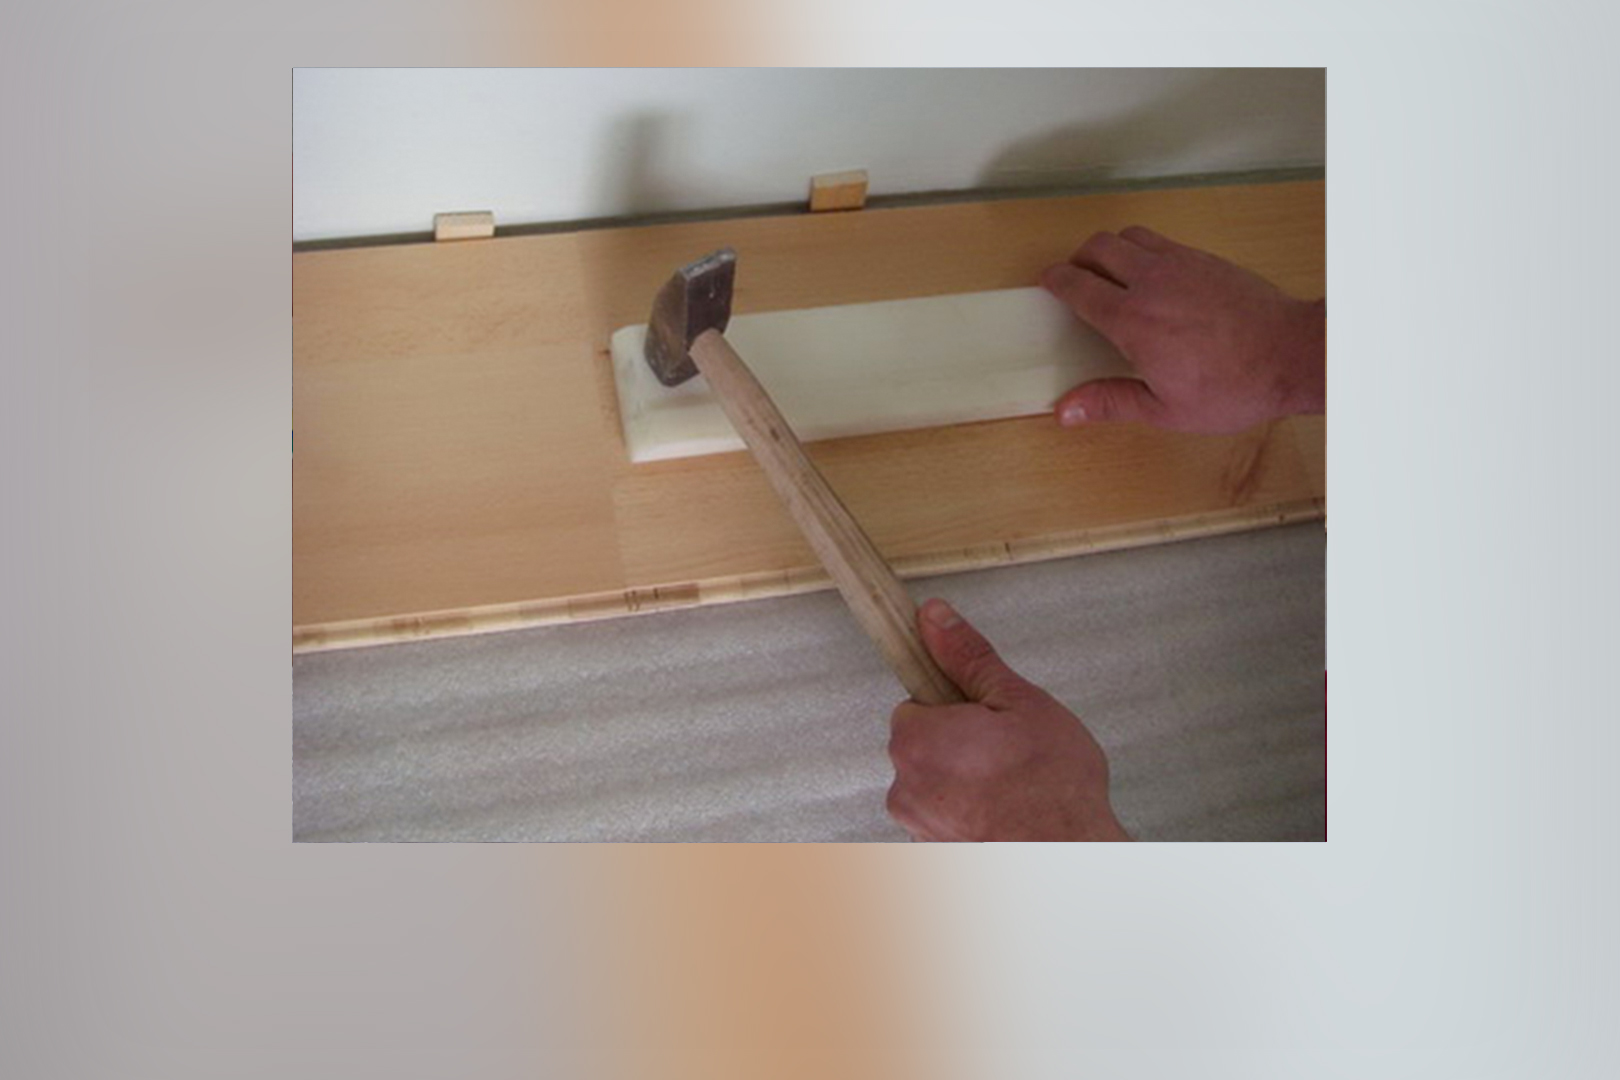
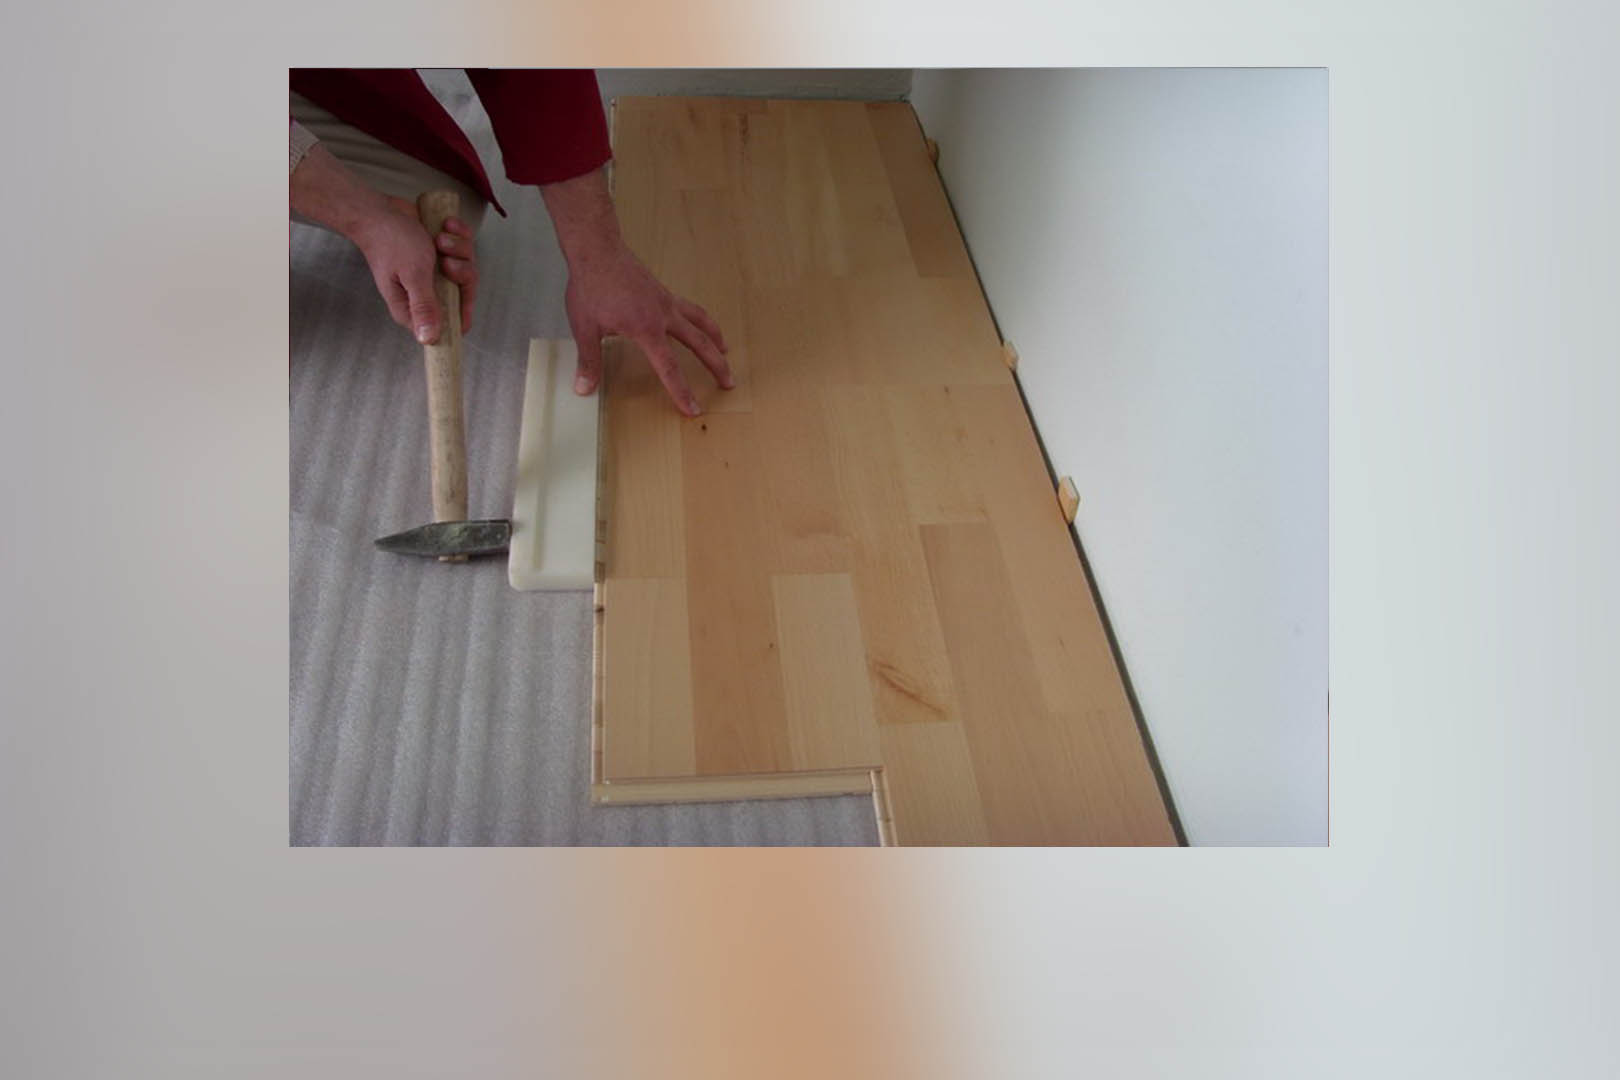
After sinking into place hammer tap lightly from above on the front side joint (place an installation block to avoid any damage), so that it clicks into place. Proceed the same way with the last plank of the row.
Put wedges along the wall.
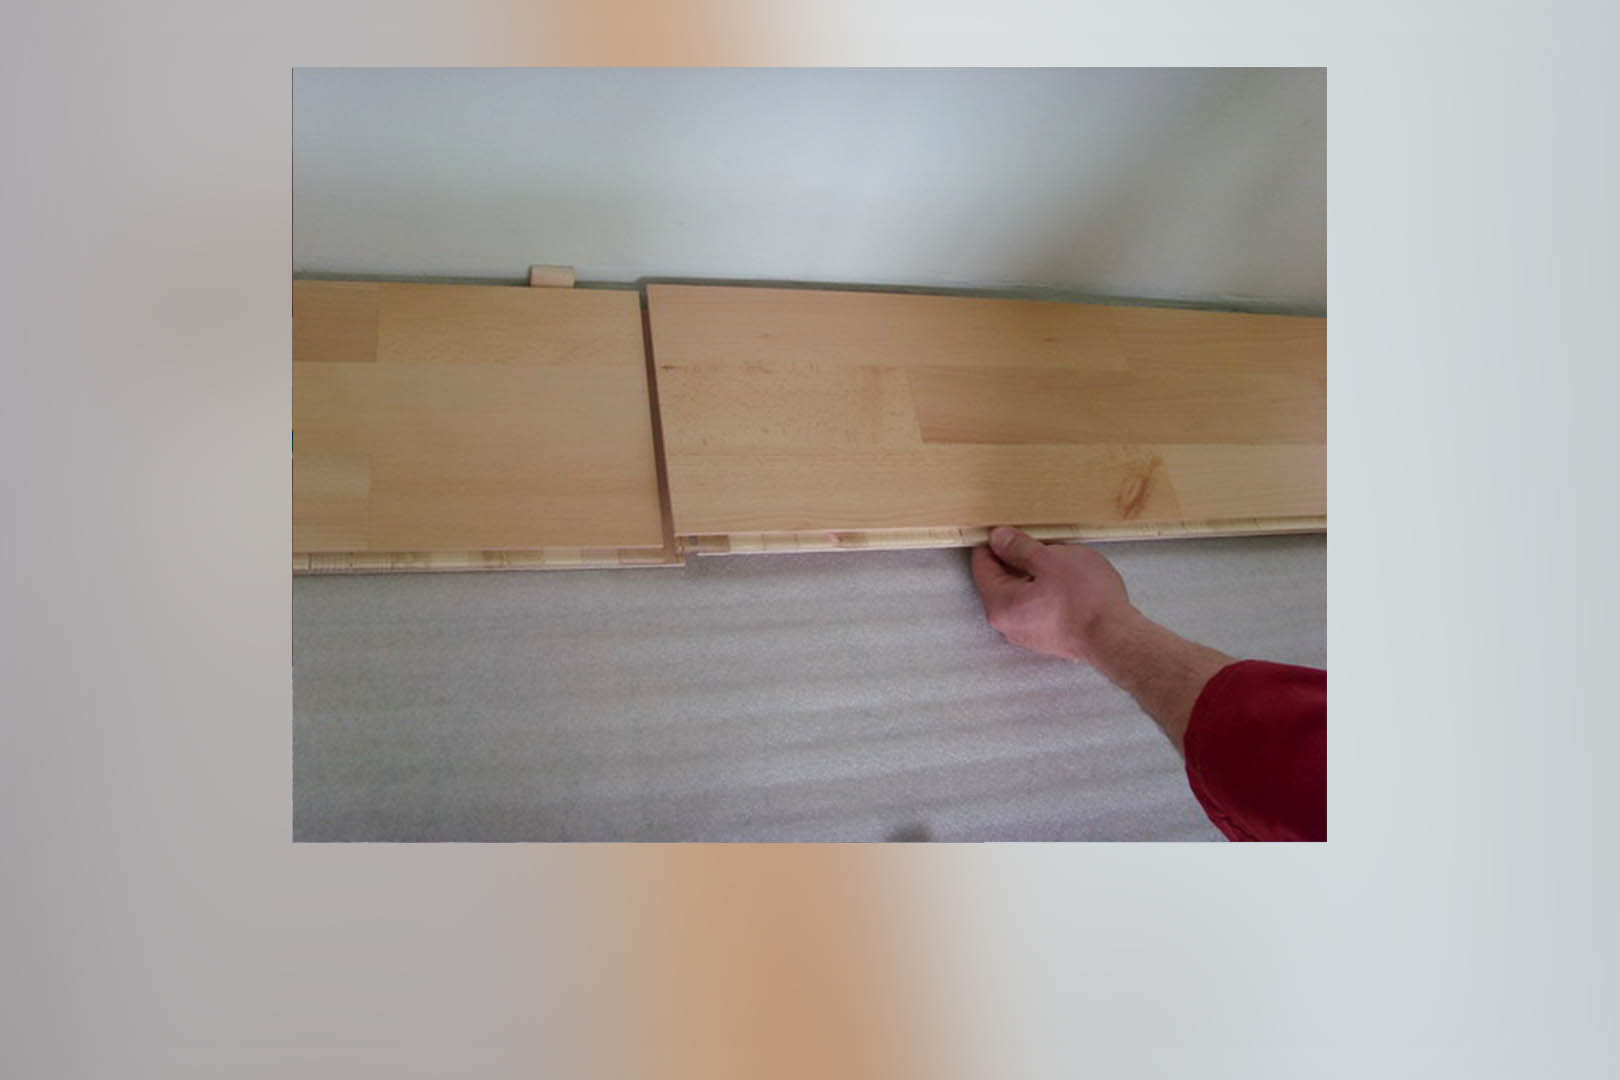
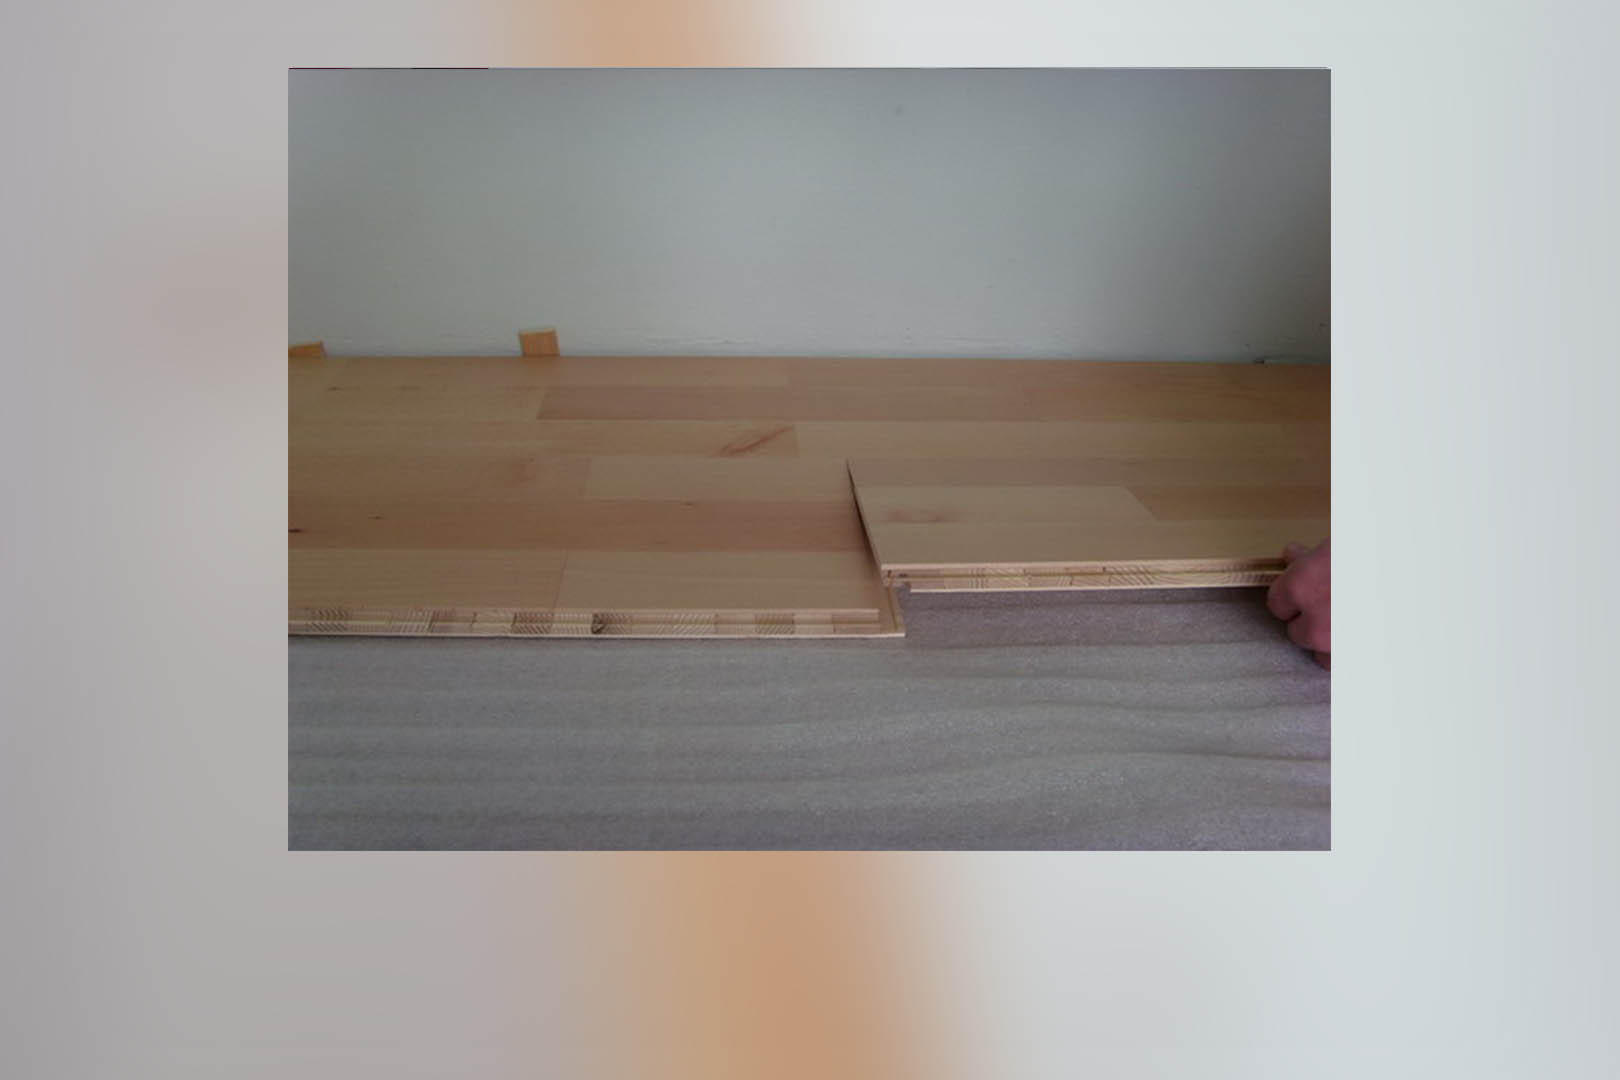
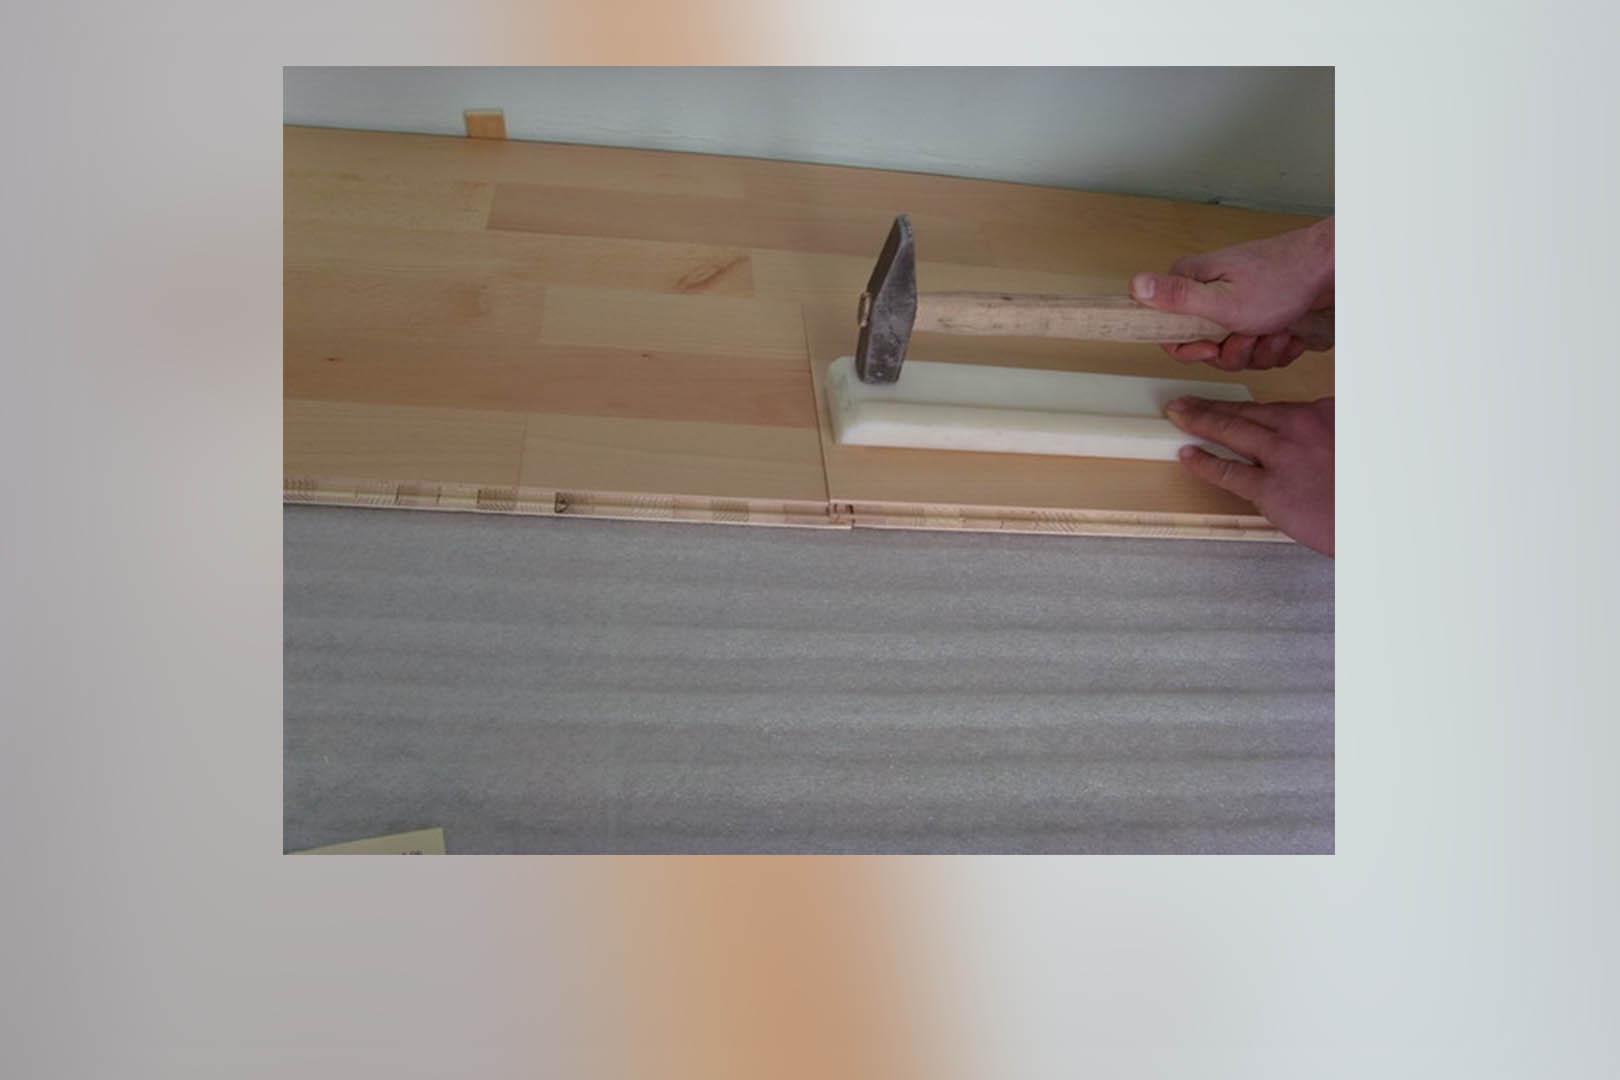
Use the remaining end of the cut plank as the first piece of the second row - be attentive to staggering the ends of boards in adjacent rows at least 30 cm (1ft.). Insert the plank lengthways into the groove of the laid plank. The tongue is inserted loosely in the groove so that the joint is tight on the top side, but the plank is not yet lowered.
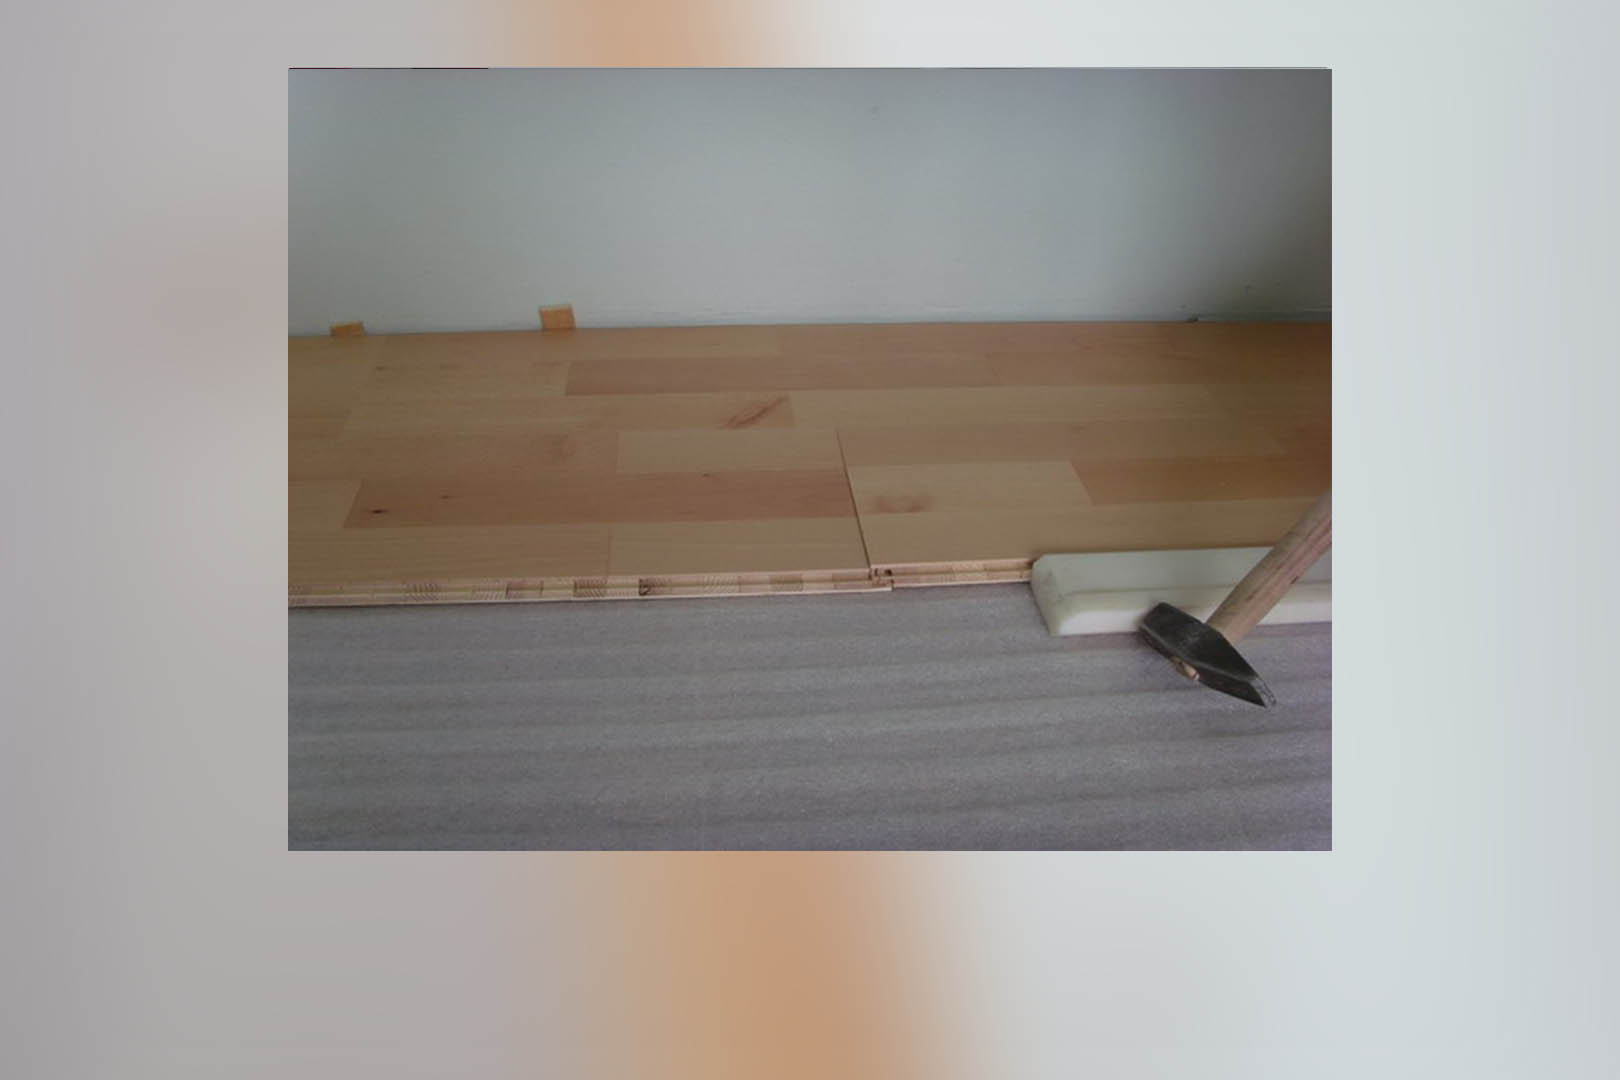
Tap lightly using an installation block on the lengthways groove, until the plank sinks down. Don’t simply push the plank down! The tapping supports the form fit of the joint and ensures a perfect joint
The second plank of the second row is also introduced loosely with its tongue in the lengthways groove of the already laid plank. The front side of this plank must be pushed tight against the already laid front end. The plank is lowered into place by tapping. Check when sinking into place whether the front joint is still tight. If necessary, tap on the front side now and then
The front side of this plank must be pushed tight against the already laid front end. The plank is lowered into place by tapping
Check when sinking into place whether the front joint is still tight. If necessary, tap on the front side now and then.
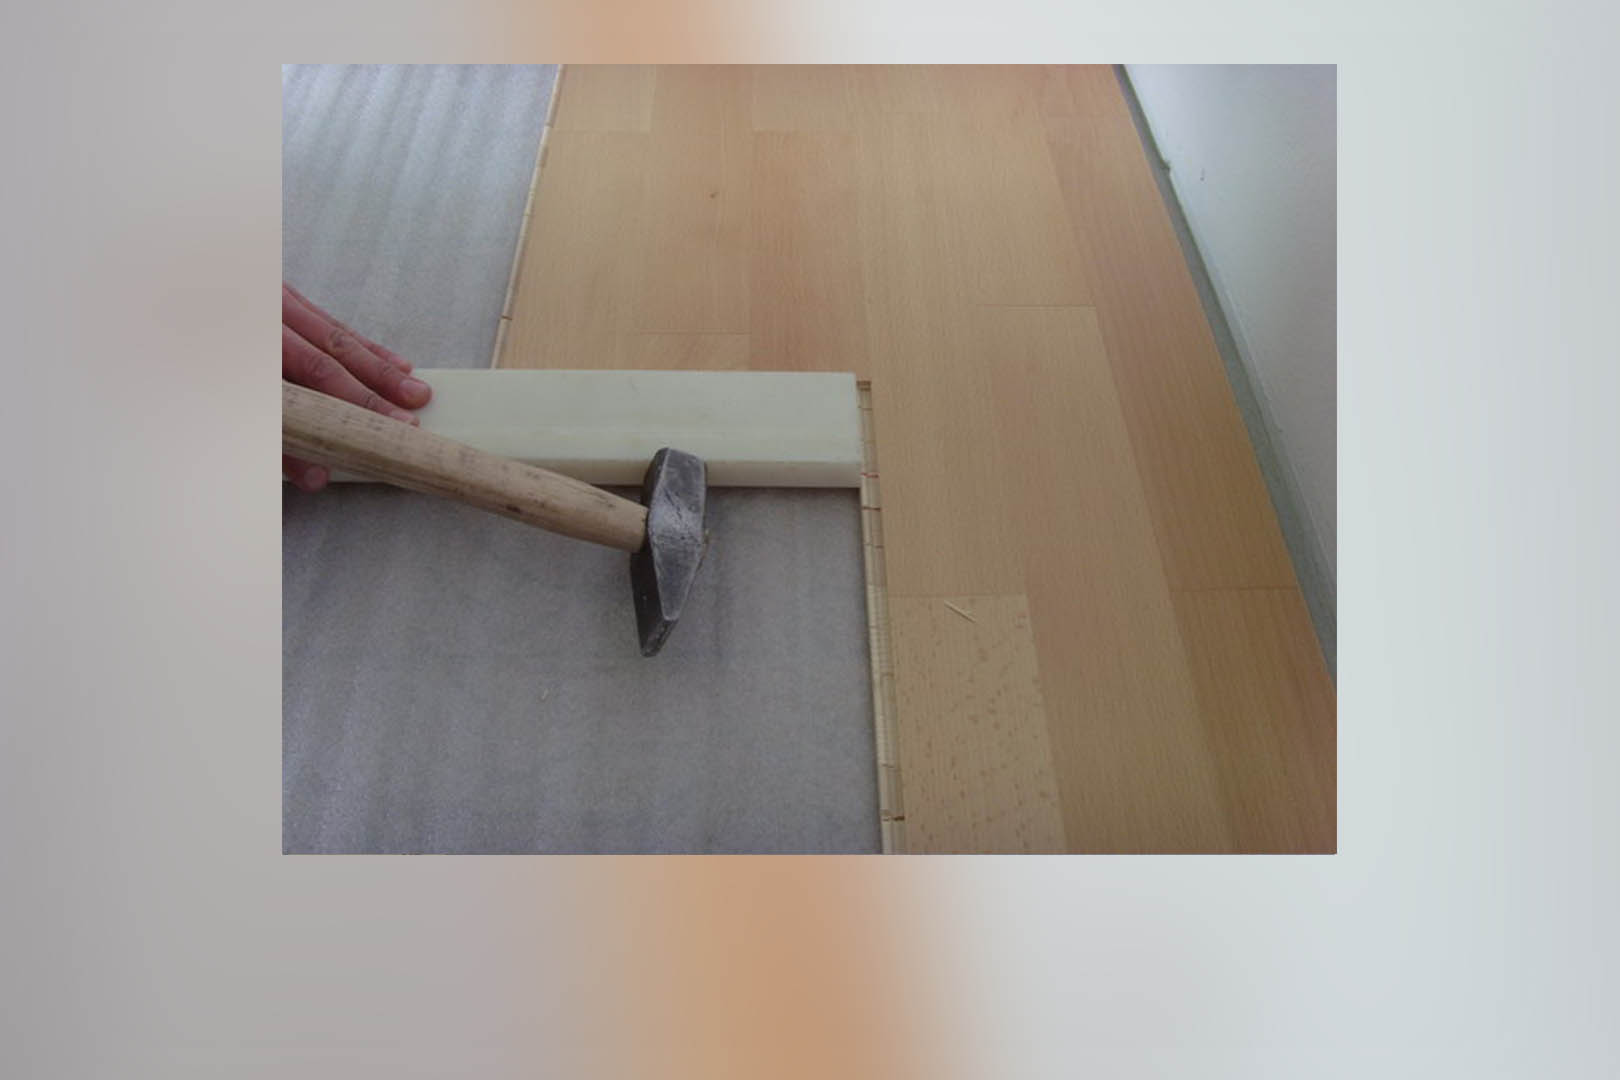
Hammer tap lightly after sinking into place from above on the front side joint (place an installation block to avoid any damage), so that it clicks into place. Tap again on the front side to get a perfect joint
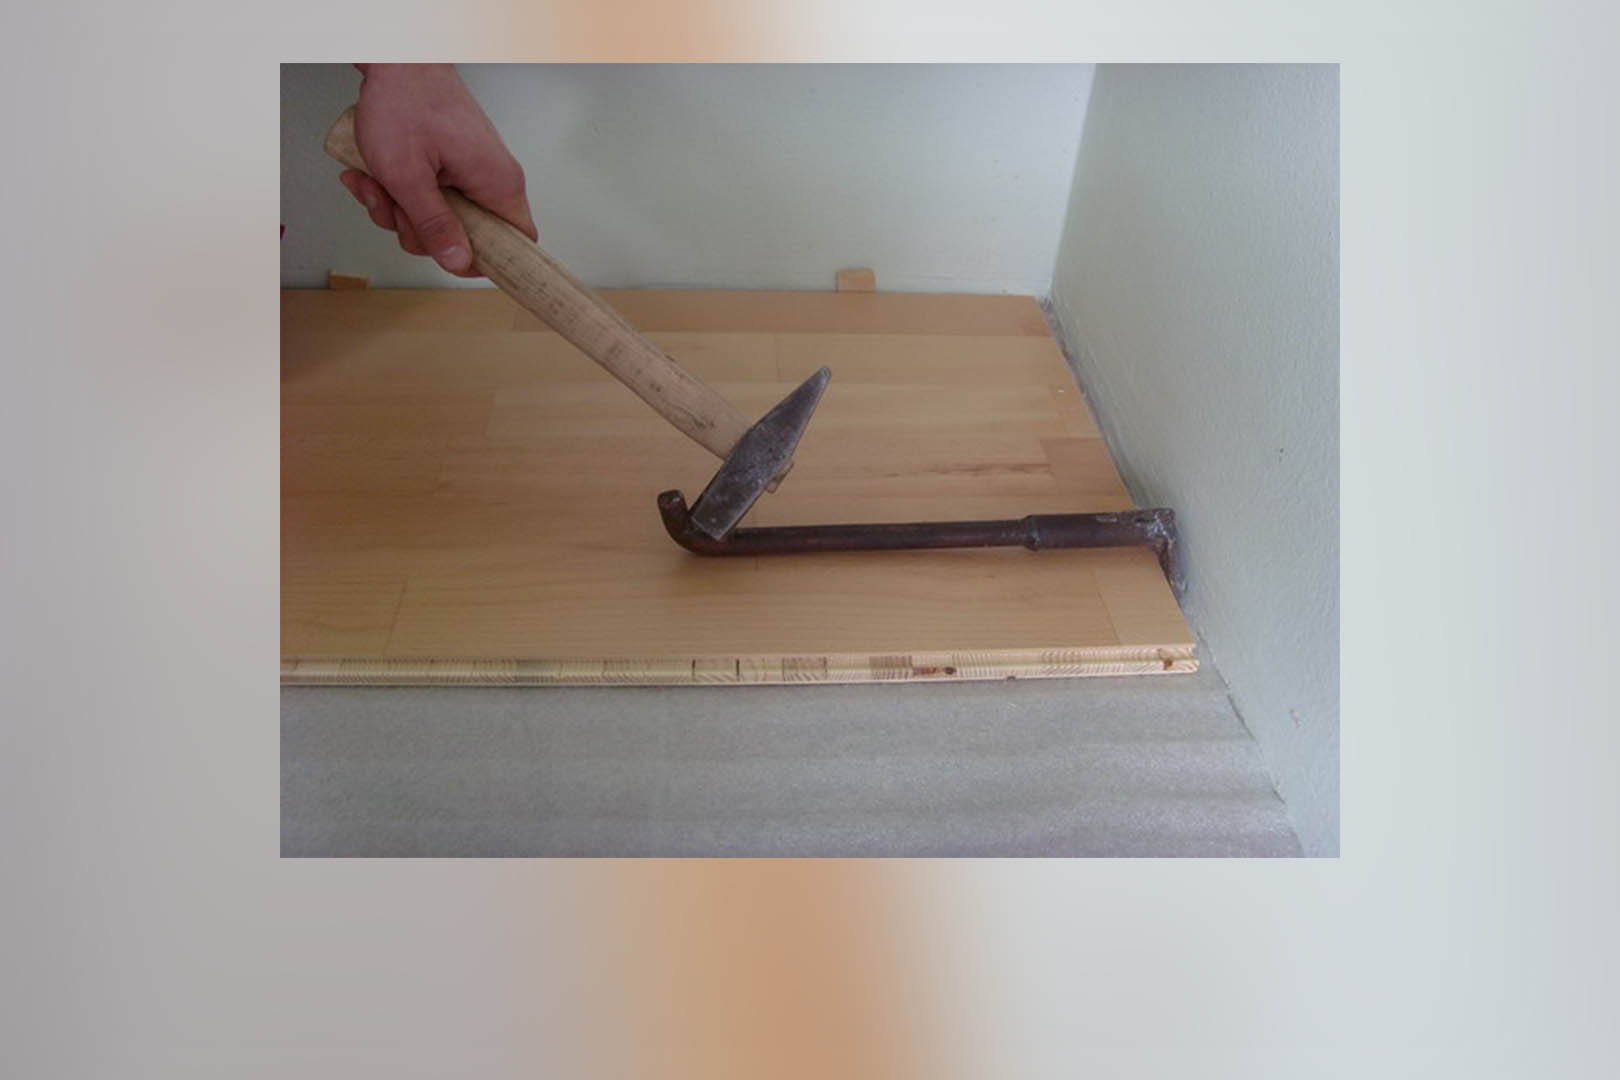
For the last piece use a pullbar
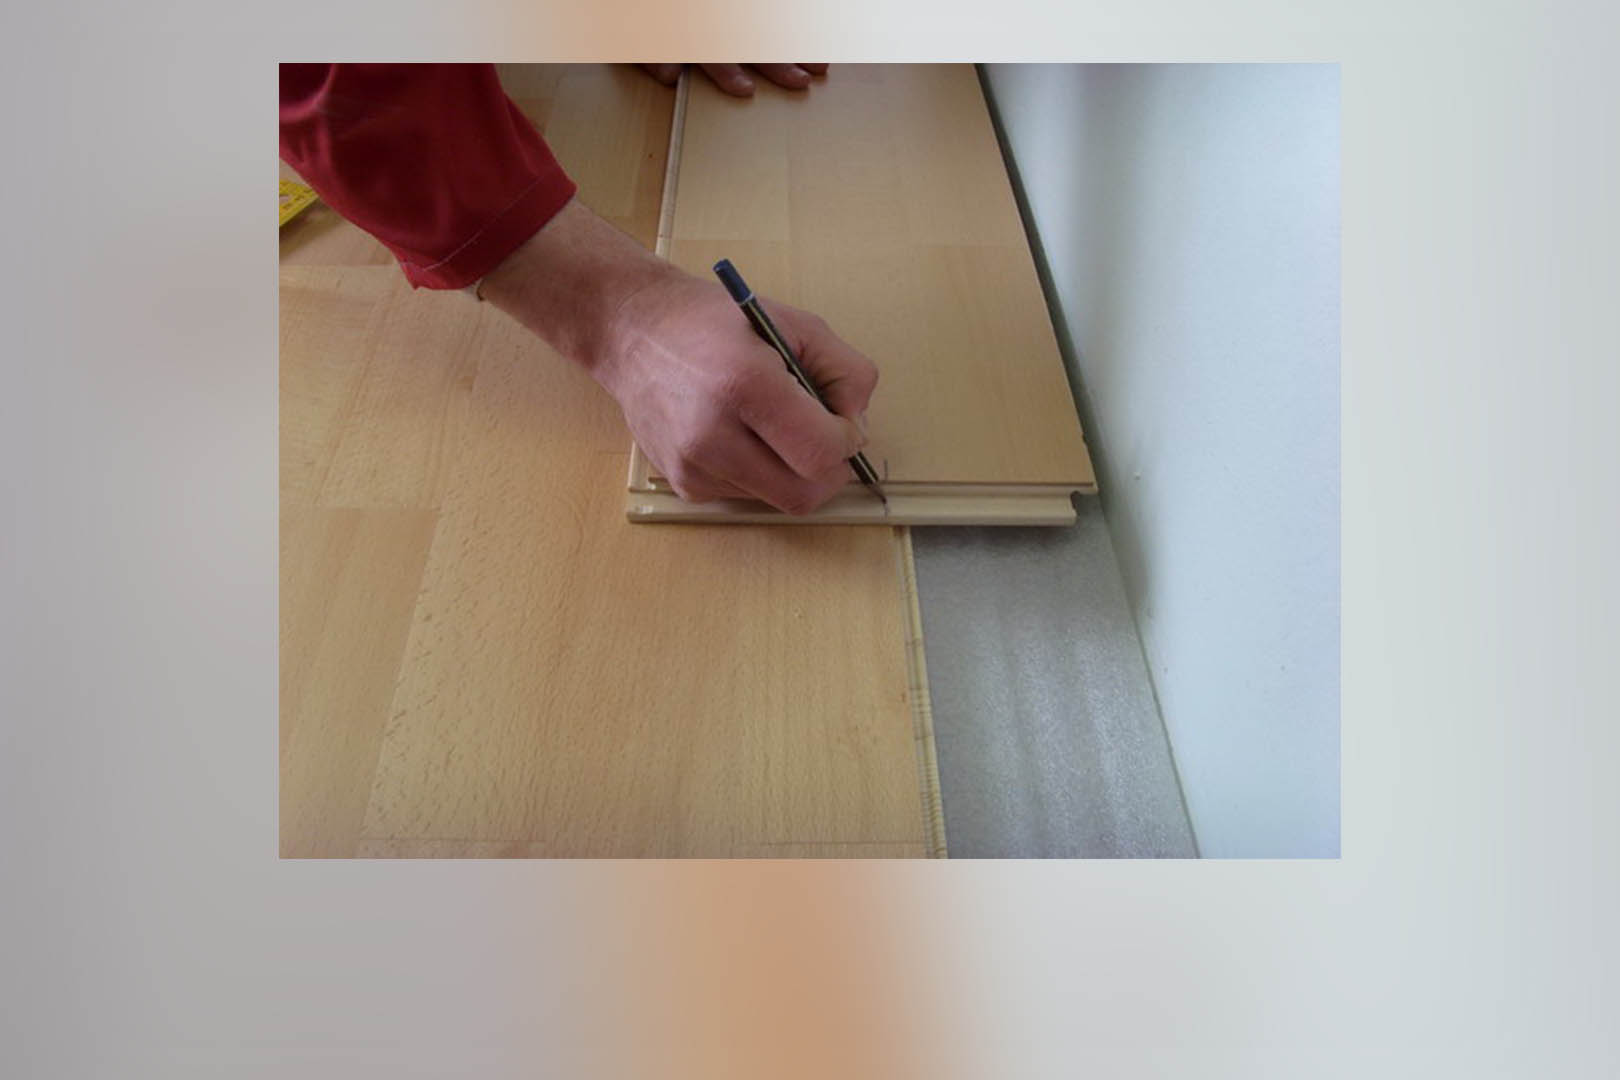
Continue the installation to the last row of planks, as described. Saw the last row lengthways to correct width. Retain an expansion joint of approx. 1 cm width to the wall!
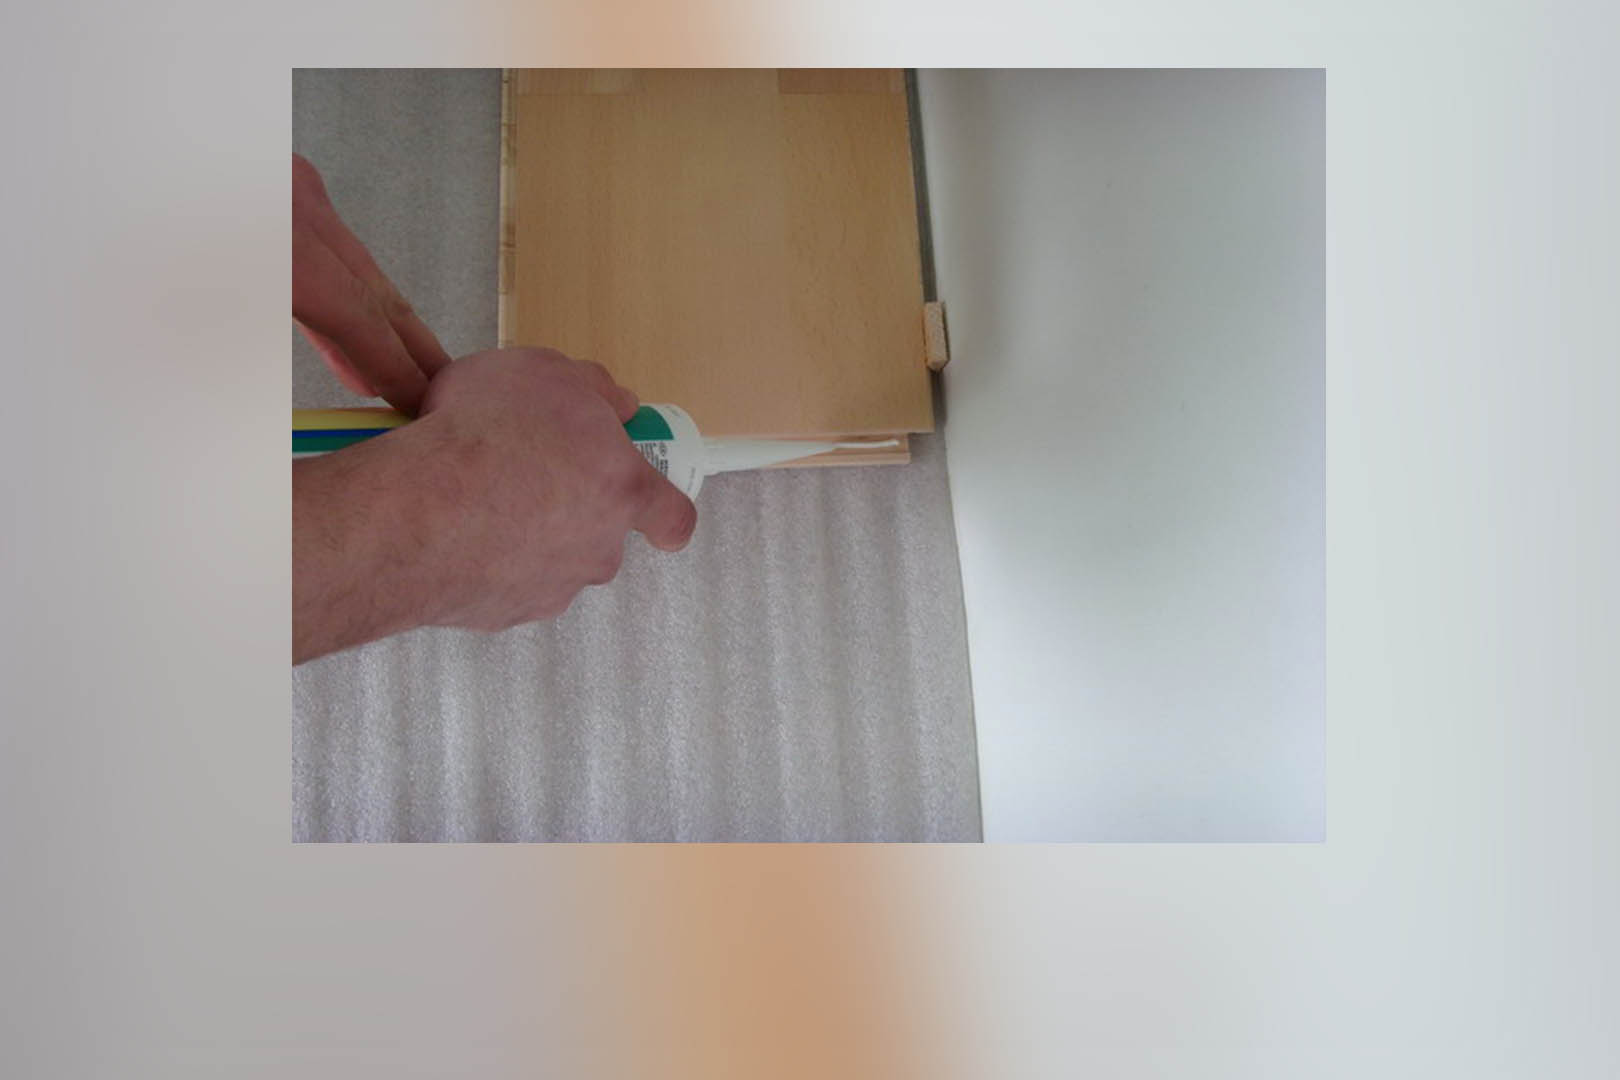
If the plank cannot be angled in from above (with low radiators, door frames etc.), cut the projection on the lower groove cheek. Apply some waterproofed tilo wood glue D3 and insert the plank
■ The installation for the planks is by means of an interlocking, mechanical tight fitting system. We recommend gluing of the front end for floors subject to at heavy used (doorareas), for radiant heating and for installations in larger rooms. Apply waterproofed wood glue sparingly to the inner side of the front groove of the already laid plank. Also a lengthways gluing is possible. Practice results reveals that the very tight lengthways fitting system could only less improved by gluing, so lenghtways gluing is unnecessary.
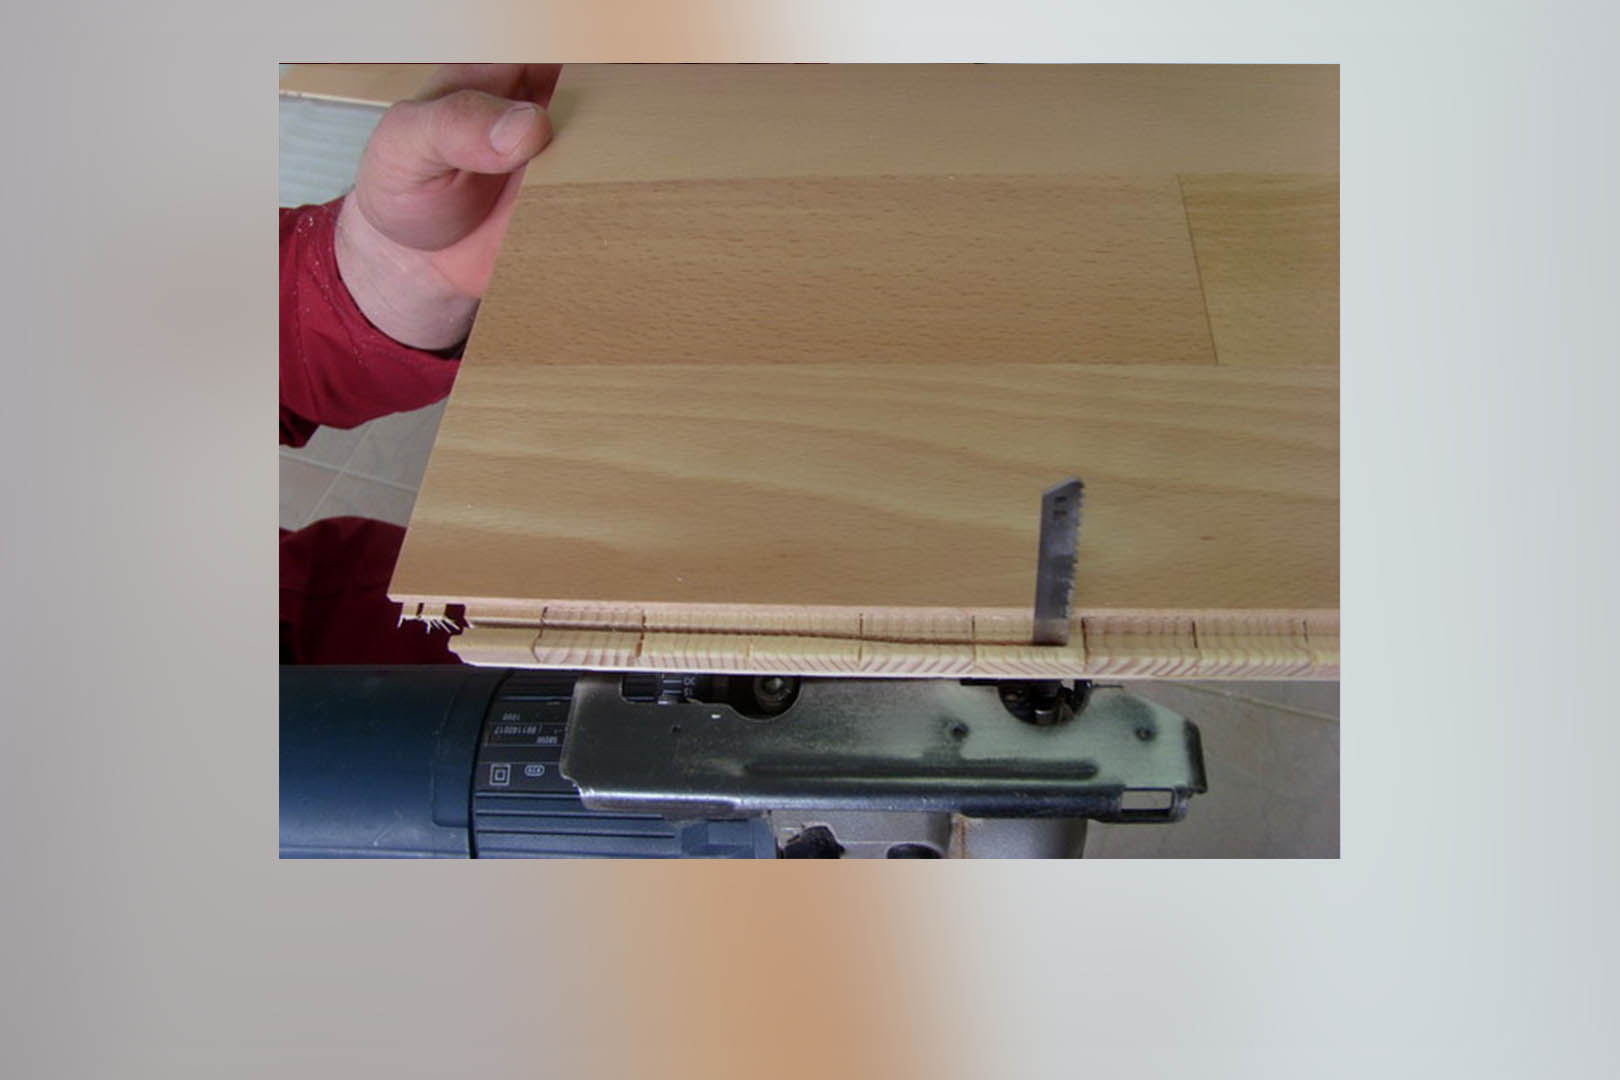
■ Radiator pipes: Drill a hole into the plank with a diameter that is 2 cm larger than the pipe’s diameter. Saw from the hole to the edge of the plank. Install the plank. Glue in the piece of the plank which you have sawn out. Cover with a special covering for radiator pipes.
■ How to shorten doorframes: Position a lose plank face down close to the doorframe and cut the doorframe along the plank.
■ You can walk on the flooring immediately after glueless installation. Remove the wedges. Nail or screw mouldings to the wall, never to the floor.
INSTALLATION OVER RADIANT HEATED SUBFLOORS
ParquetFIX 3-strip/plank can also be installed on a low temperature radiant heated subfloors. Special installation instructions must be followed. The surface temperature must not exceed 27°C (80 ° F) also at the margins, below furniture and carpets. The relative air humidity should be 40 – 60%. During the heating period joints can emerge, in particular if the temperature is to high or the air humidity is to less. If there are any unanswered questions so far, we ask you to contact first your speciality store.